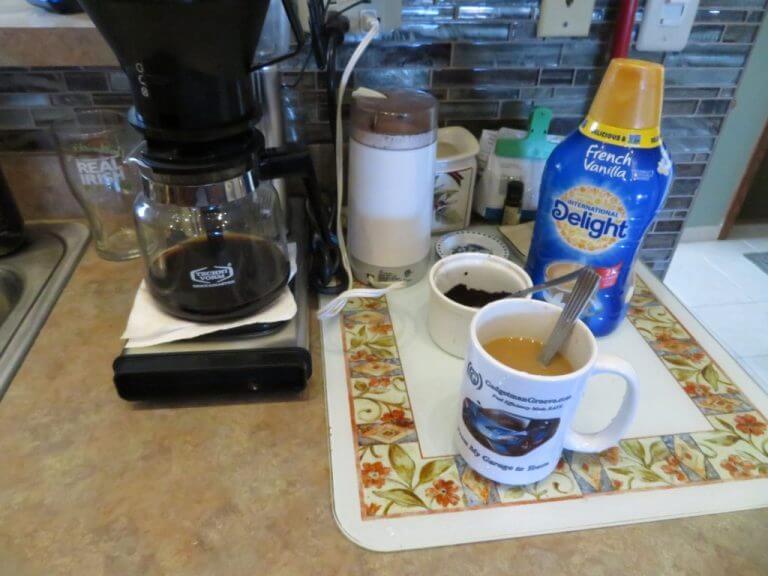


I’m a Coffee Snob.
Fresh ground French Roast.
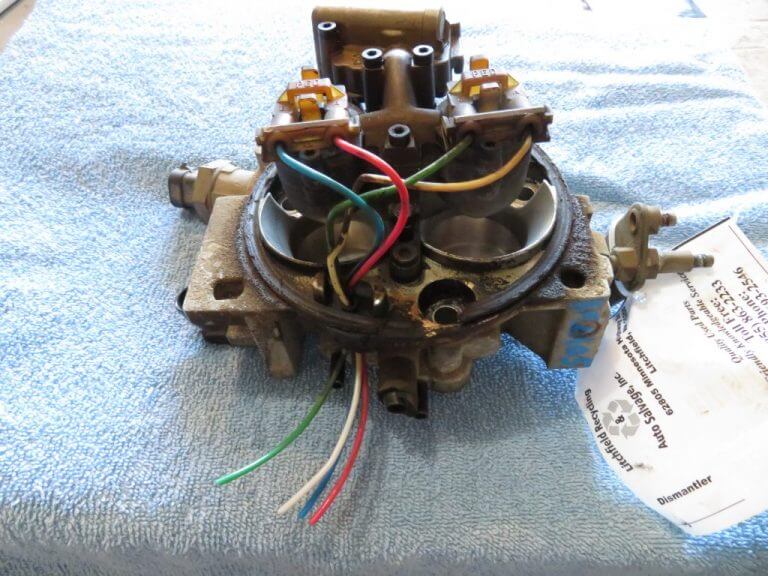
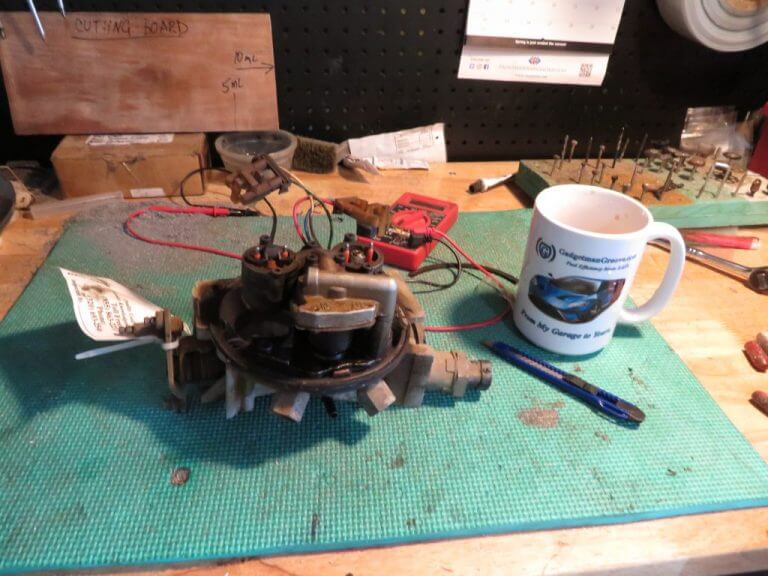
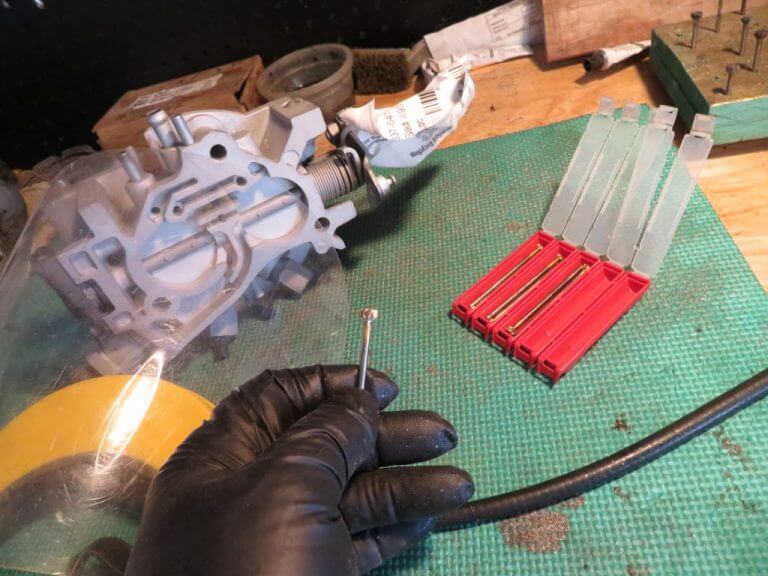
The first thing we do is give it a visual inspection to make sure it’s working correctly and the assorted sensors look good.
If anything is off, we decide what to do, whether it’s return the item and start over, or advise the client of any changes that may required.
Time required: 5 Minutes.
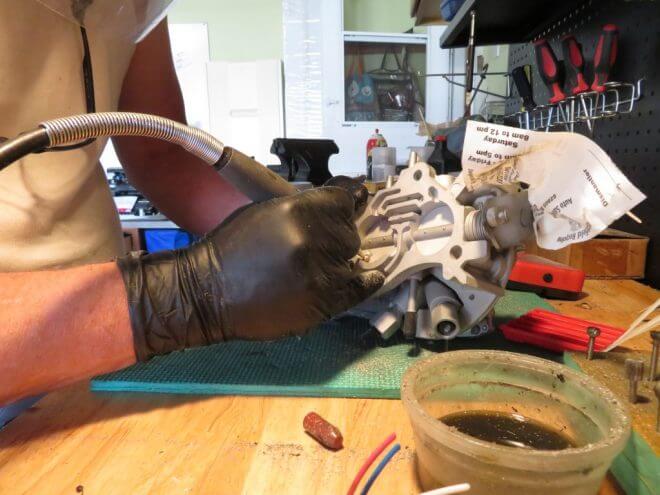
Next, we check out the device more thoroughly.
Time required: 5 to 15 minutes.
It starts on the work bench.
One of the many precious gifts I’ve received in my life
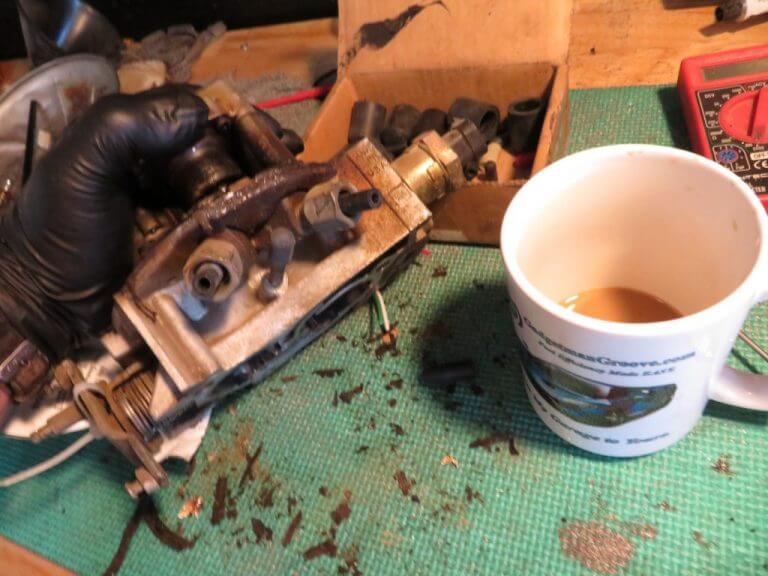
Once we’ve done the inspections, we start the process by removing the worst grunge and garbage.
Some is quite stubborn, requiring additional time.
Time required: 5 to 20 minutes.
The major portion of filth is removed from the item.
Uh-oh! Time for more coffee!
Before it’s first visit to the cleaning cage, we block off any sensitive areas to ensure no sand gets into them.
It wouldn’t do to have the injectors blocked when it’s fired up!
Time for more Go Juice!
Next, it’s time to visit the sandblasting cage.
It’s taken months to develop my skills with this simple device!
Time required: 15 to 45 minutes.
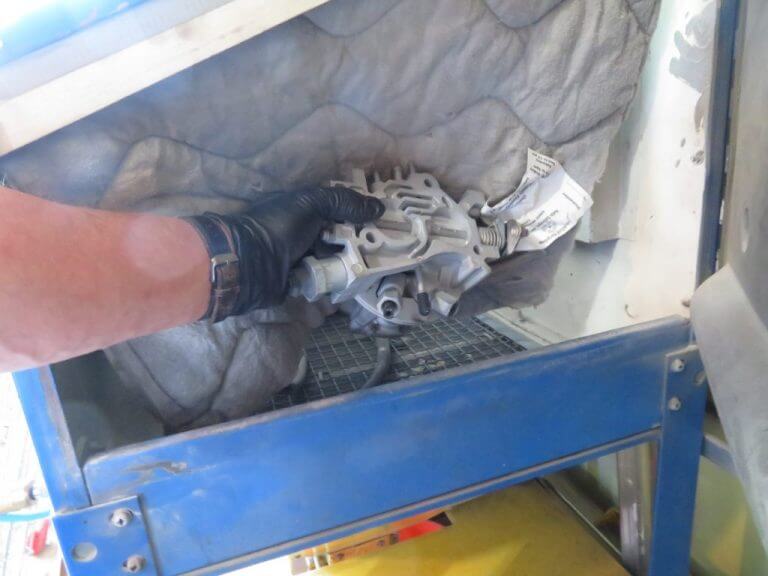
Pulling it from the cage.
Once it’s had a thorough cleaning,
it looks a LOT better and is ready for the modification.
The First of Two thorough cleanings.
Next, we select the proper sized bit and start the actual modification.
Selecting the proper size bit is mission critical.
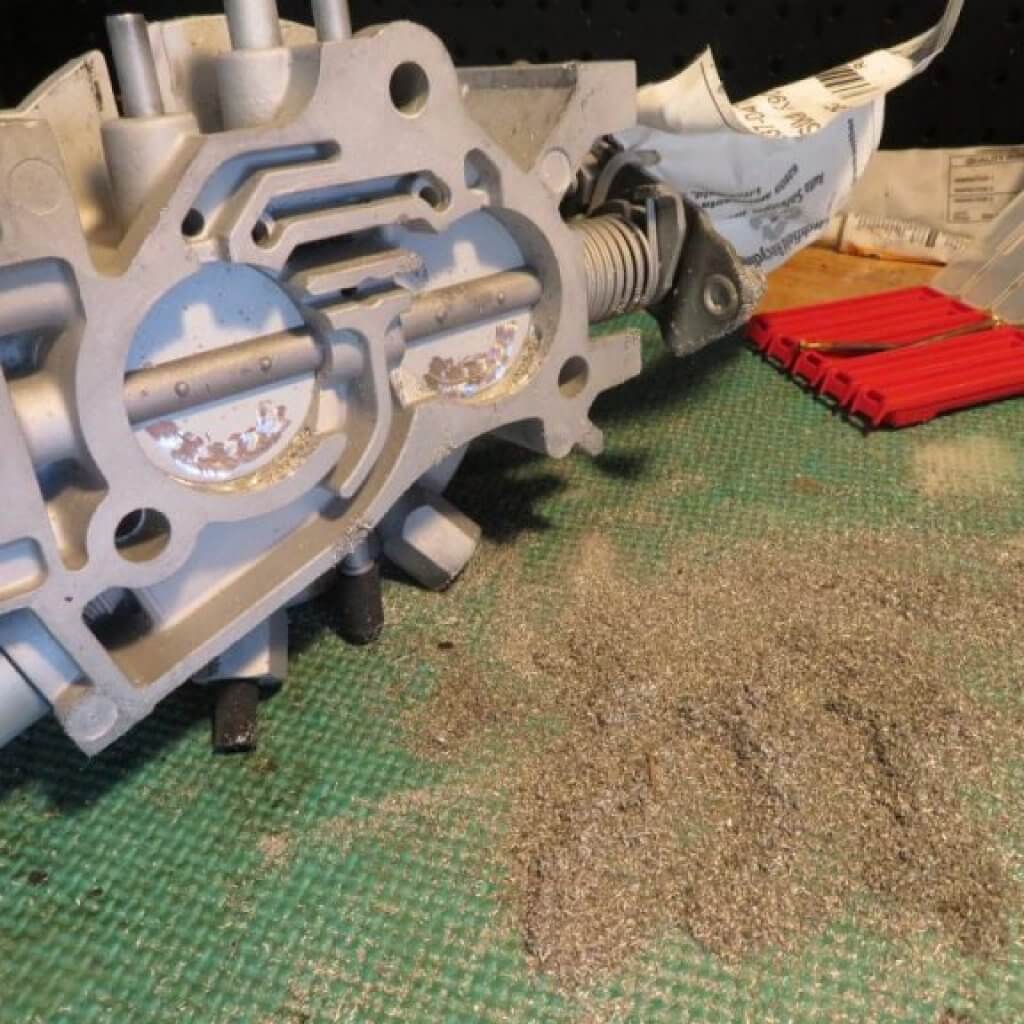
Then we machine the actual Groove
into the assembly just downstream
and as close to the throttle plate as possible.
All machine work is done by hand.
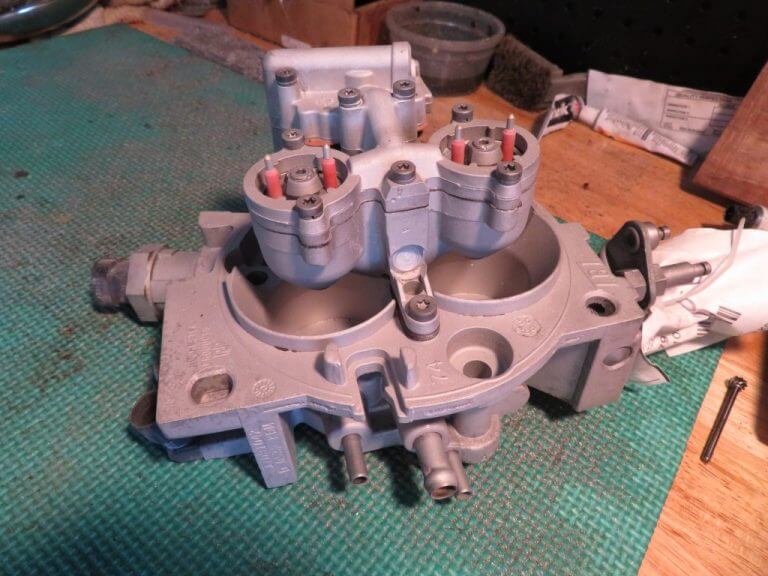
And here’s what it looks like with The Groove completed.
Time required: 15 to 30 minutes.
The Grooving Process is now complete.
In some cases (not this one) the walls where The Groove
is applied is thinner than others.
This is checked by shining a light inside The Groove,
looking for light seeping through to the outside.
In the event I spot a potential leak,
I apply JB-Kwik to the outside (if possible) to ensure there are no leaks.
Sometimes, I miss a spot.
So I ask every customer to check my work, and apply
additional JB-Kwik if needed.
It doesn’t happen OFTEN, but you should
ALWAYS CHECK MY WORK!
Once The Groove is applied, it goes BACK into the cage to knock off any grease spots I may have missed and to polish the plates.
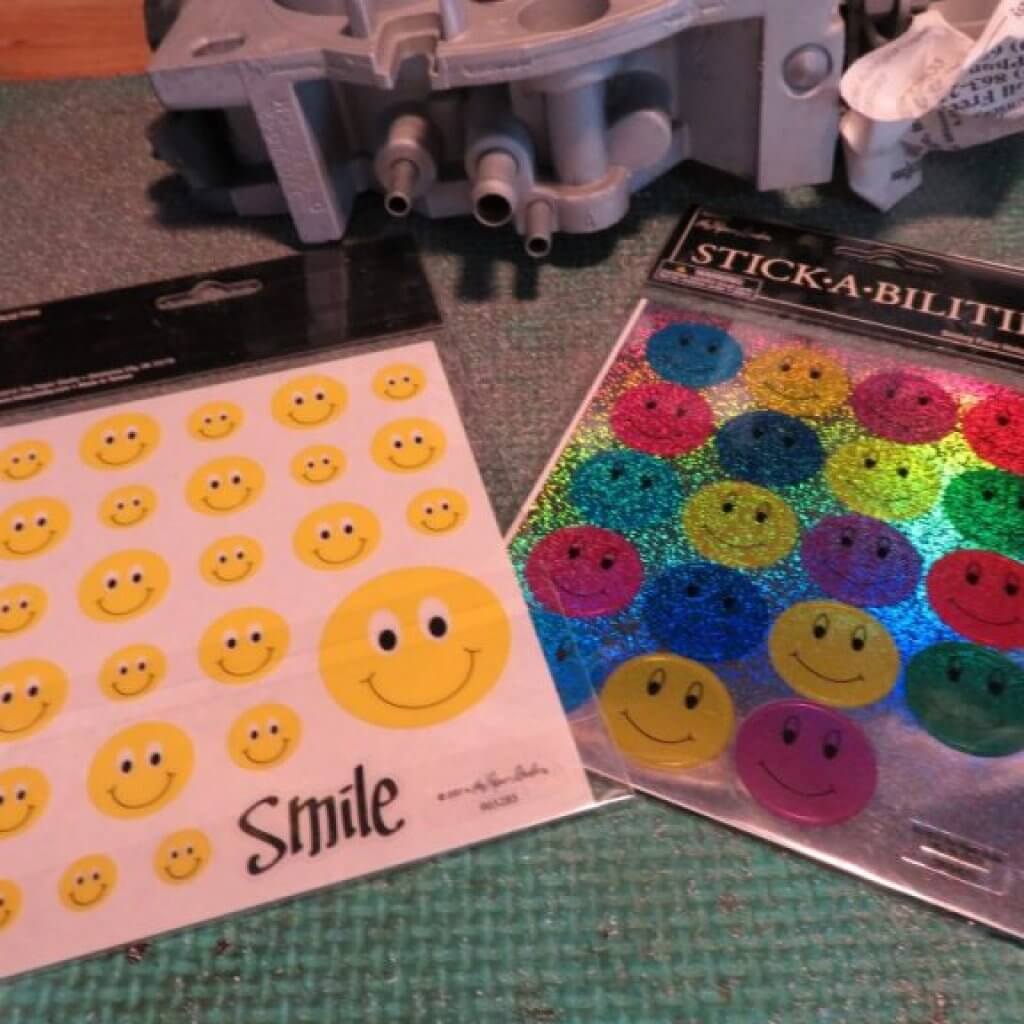
Then the all-important finishing touch is applied.
SMILEY FACES!!!
This depends TOTALLY on my mood!
Today, it was Sparkly, HAPPY blue!
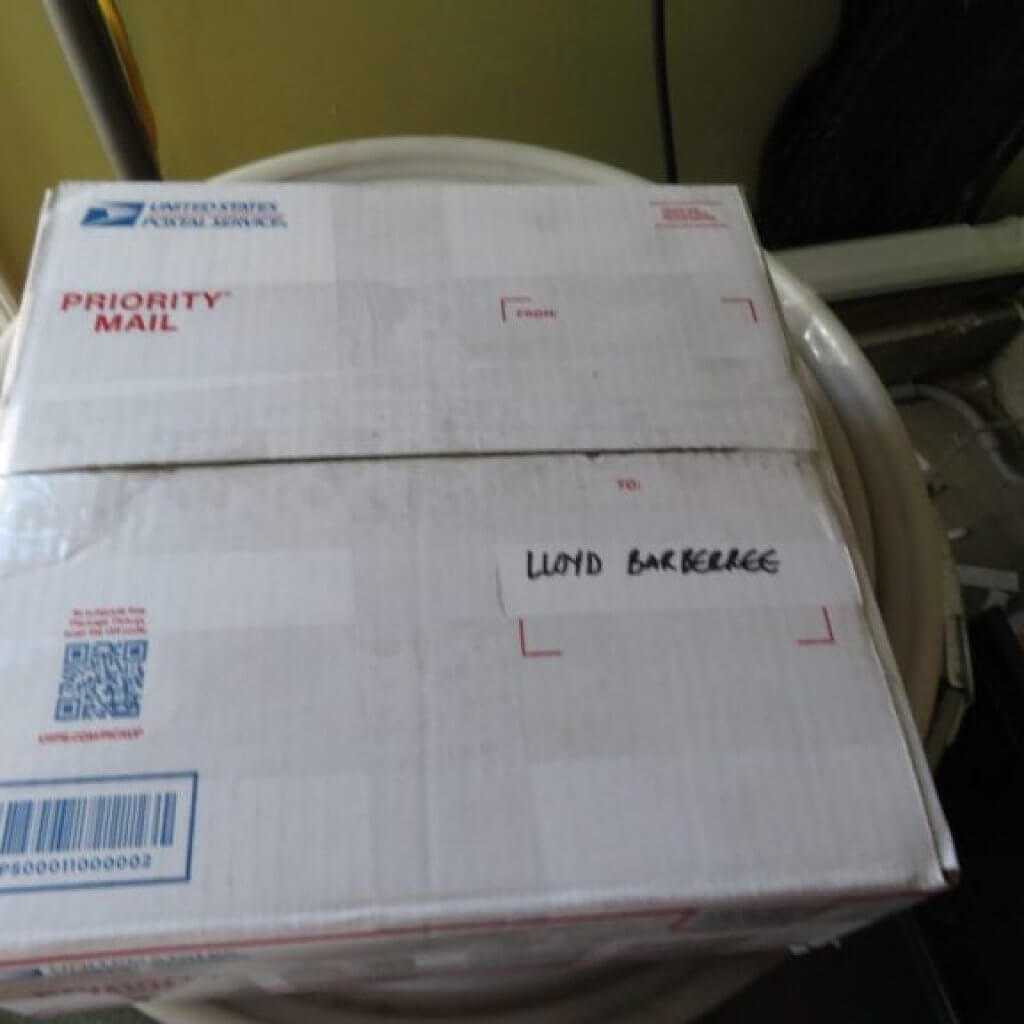
From here, it’s on to the packing station.
Once I read the news, of course!
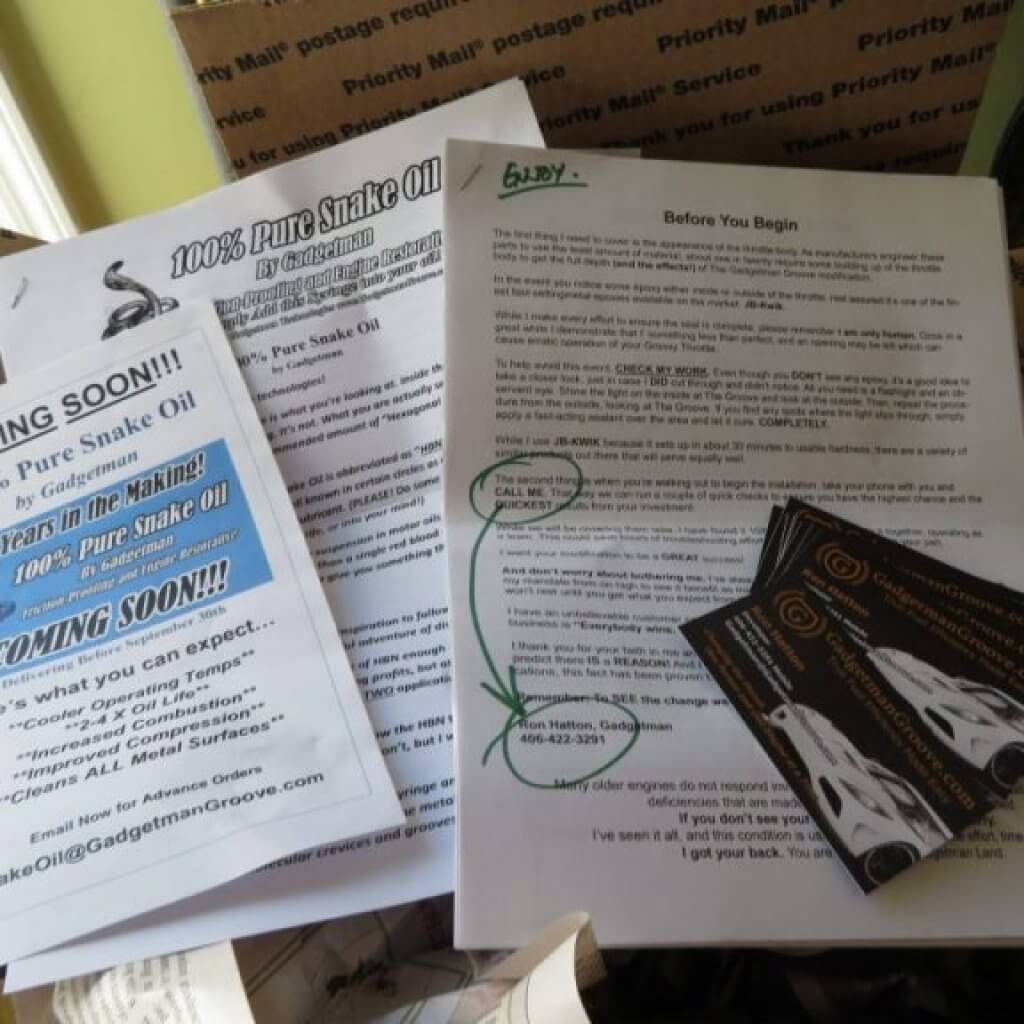
Once we’ve packed the throttle body TIGHTLY to avoid damage during shipment, we add the assorted paperwork.
For this customer, I’m including a little surprise.
A trial application of
so I add some information on that
along with the Installation Instructions.
Add a few business cards in case they want to talk to others about my work, and it’s ready for shipment.
Time required: 15 minutes.
Finished and ready to ship!
This is what we go through with every order.
So, the investment of time we put into each throttle body gives you
the best we can deliver ranges from about One hour to TWO and a HALF hours!
If you’re ready to “Get YOUR Groove On”
Start the Ordering Process Now!